Recently I have created a self-contained web page with couple of images. For creating the web page, I chose Visual Studio Code on macOS. So, for converting the image to base64, I used the terminal console in VS Code to run the base64 encoder. This will help me to easily drag and drop the image file path. Let’s see how to use the mac base64 encoder from VS code.
Image to base64 in VS Code
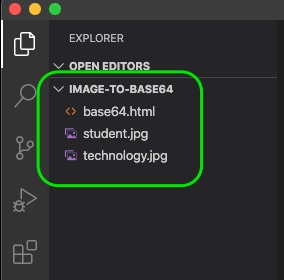
- In VS Code, open the workspace having the images to be encoded. Having the list of files (including the image files) in the Explorer panel of VS Code will help you to drag and drop the file to the terminal to get the file path.

- Now, in the menu, go to Terminal >> New terminal. This will open the terminal console at the bottom of the VS Code.
- In the terminal console, you can use the mac’s base64 command to convert the image to text. The syntax of the command is:
$ base64 -i [[[image file path]]] -o [[[output text file path]]]
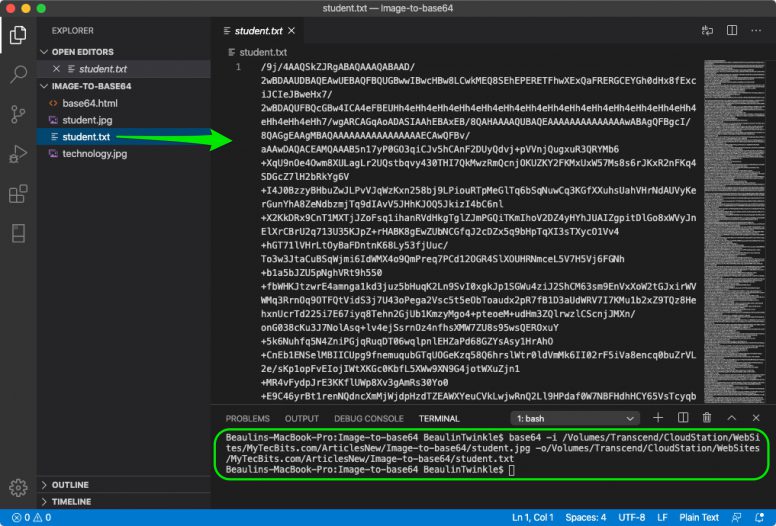
For convenience, you can drag and drop the image file from the explorer panel to the terminal console to get the image file path. For output file path, just drag and drop the image file again and change the file extension from .jpg, .png, tc.. to .txt. This will create a txt output file. Here is a sample command:
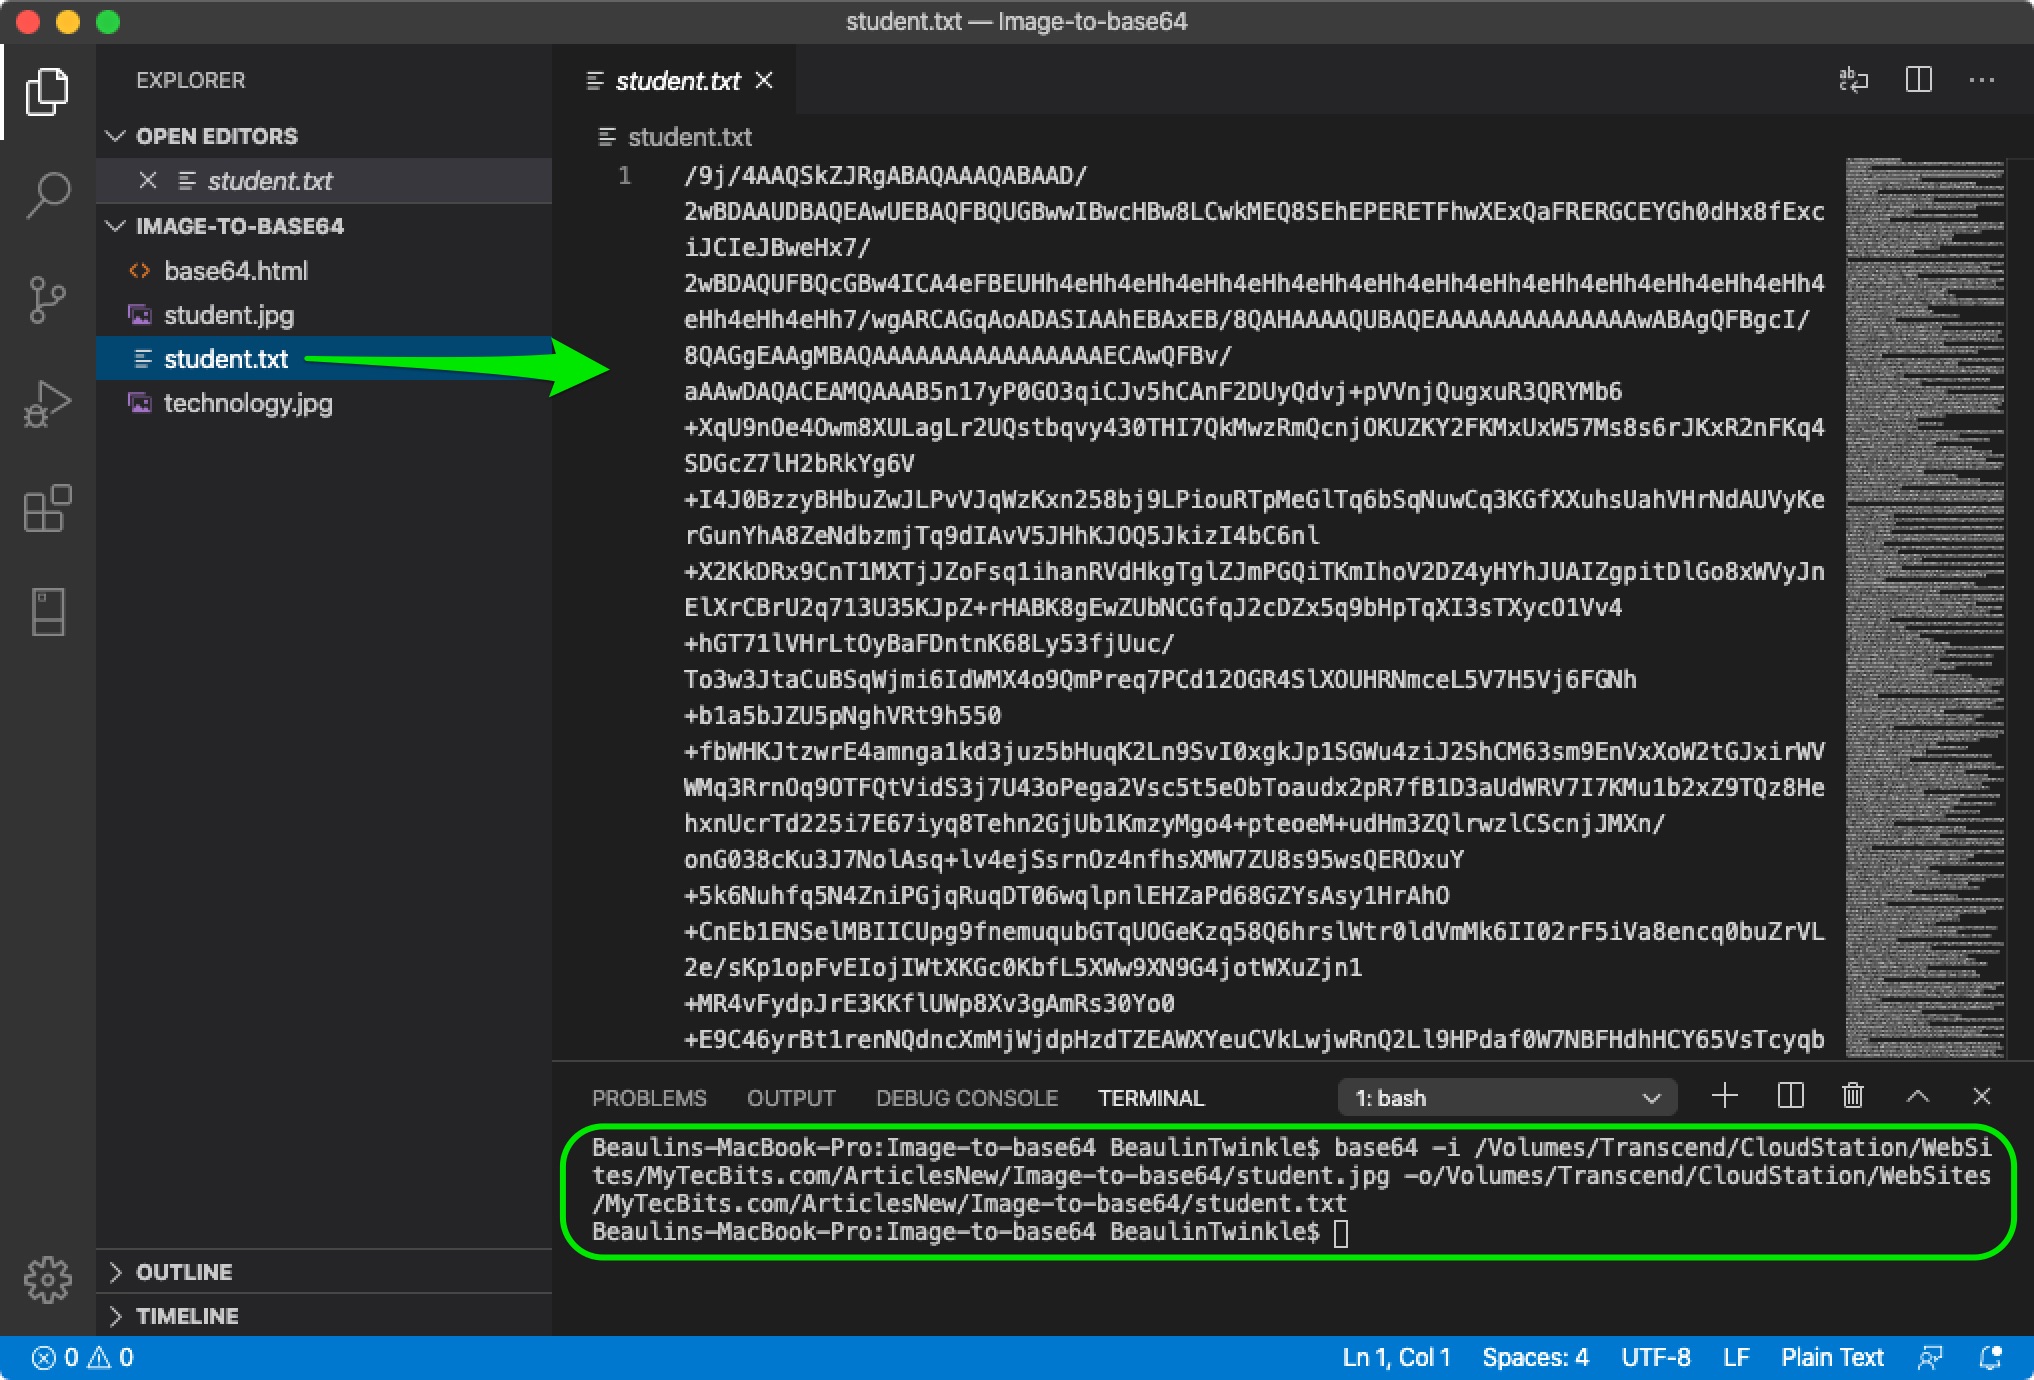
$ base64 -i /Volumes/Transcend/CloudStation/WebSites/MyTecBits.com/ArticlesNew/Image-to-base64/student.jpg -o /Volumes/Transcend/CloudStation/WebSites/MyTecBits.com/ArticlesNew/Image-to-base64/student.txt

- Once you run the command, the output file will be created and the base64 encoded image in text is seen in the file.
- Now, to test the output, append
data:image/png;base64,
to the beginning of the output text and copy paste the whole text into the URL bar of a browser. - To add this encoded image to a self-contained web page, use the img tag with stc containing the text appended with
data:image/png;base64,.
<img alt="Student"
src="data:image/png;base64,[[[base64 encoded output text]]]">
Reference
- More about base64 @ WikiPedia.

