I am using VirtualBox in my MacBook Pro to host a Windows 10 machine with a 55 GB virtual hard disk. After using it for more than 3 years, the free disk space of Windows has reduced. So, I have to increase the virtual disk size for windows to function properly. Here, I will give you the step by step instructions for increasing the disk space of Windows in VirtualBox on macOS.
Increasing the Windows VM’s disk space is a two part process, first you have to increase the virtual disk (vdi) where Windows is installed. Then you have to login to the virtual machine and merge the unallocated extra space with the partitioned drive.
Software & Tools Involved
- Host OS: macOS Big Sur
- Hypervisor: VirtualBox 6.1.28
- Guest OS: Windows 10
Steps to increase disk space of Windows VirtualBox VM on Mac
- Make sure the windows vm is shut down and close VirtualBox.
- Launch the Terminal on Mac.
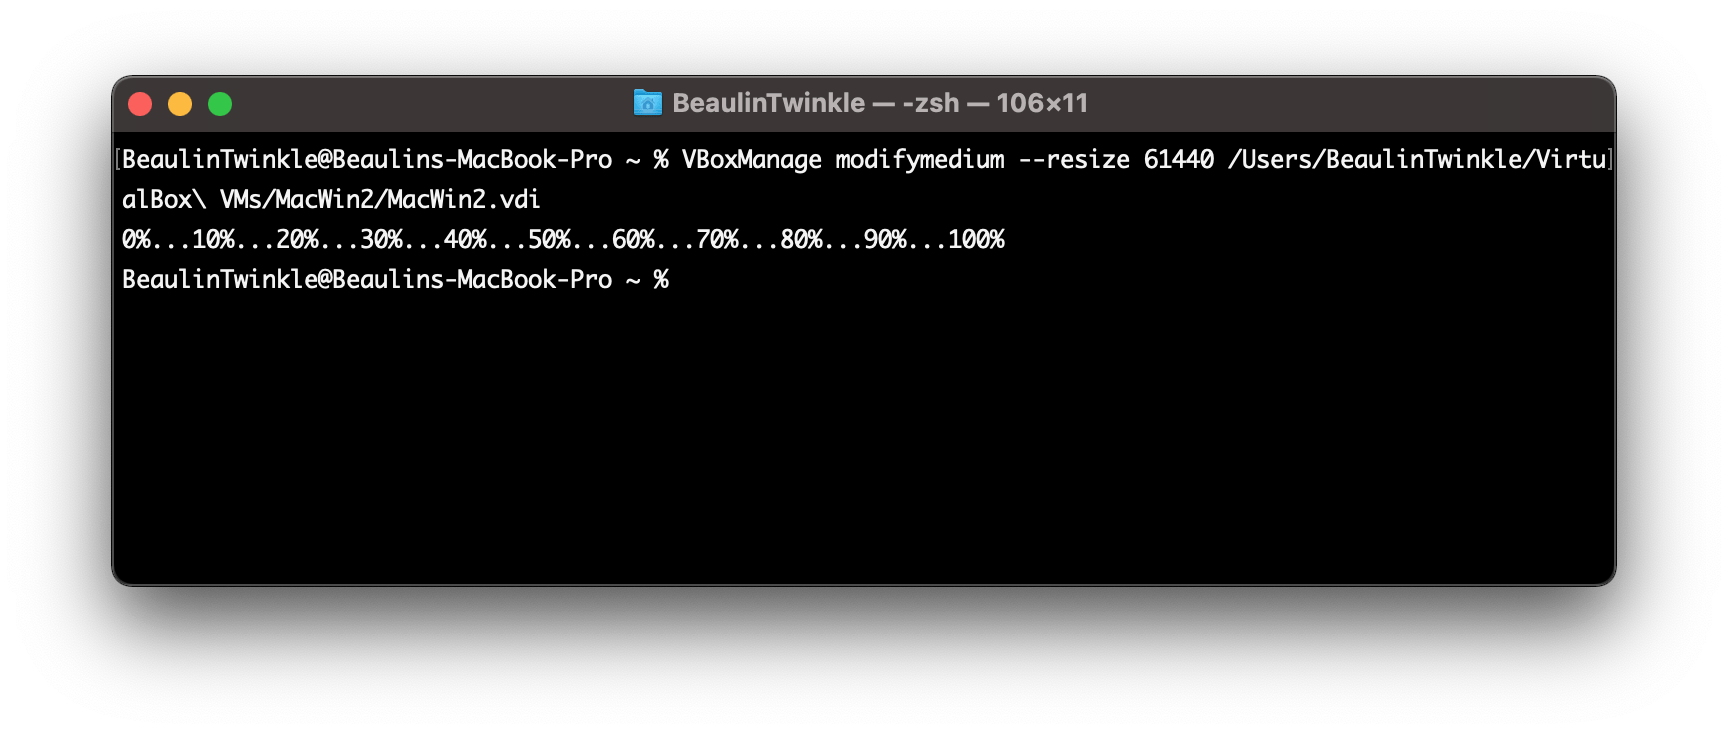
- Run the virtual disk VBoxManage modifymedium command. The syntax of the command is:
VBoxManage modifymedium --resize [size in MB] [/path/to/vdi]
Here is a example:
VBoxManage modifymedium --resize 61440 /Users/BeaulinTwinkle/VirtualBox\ VMs/MacWin2/MacWin2.vdi

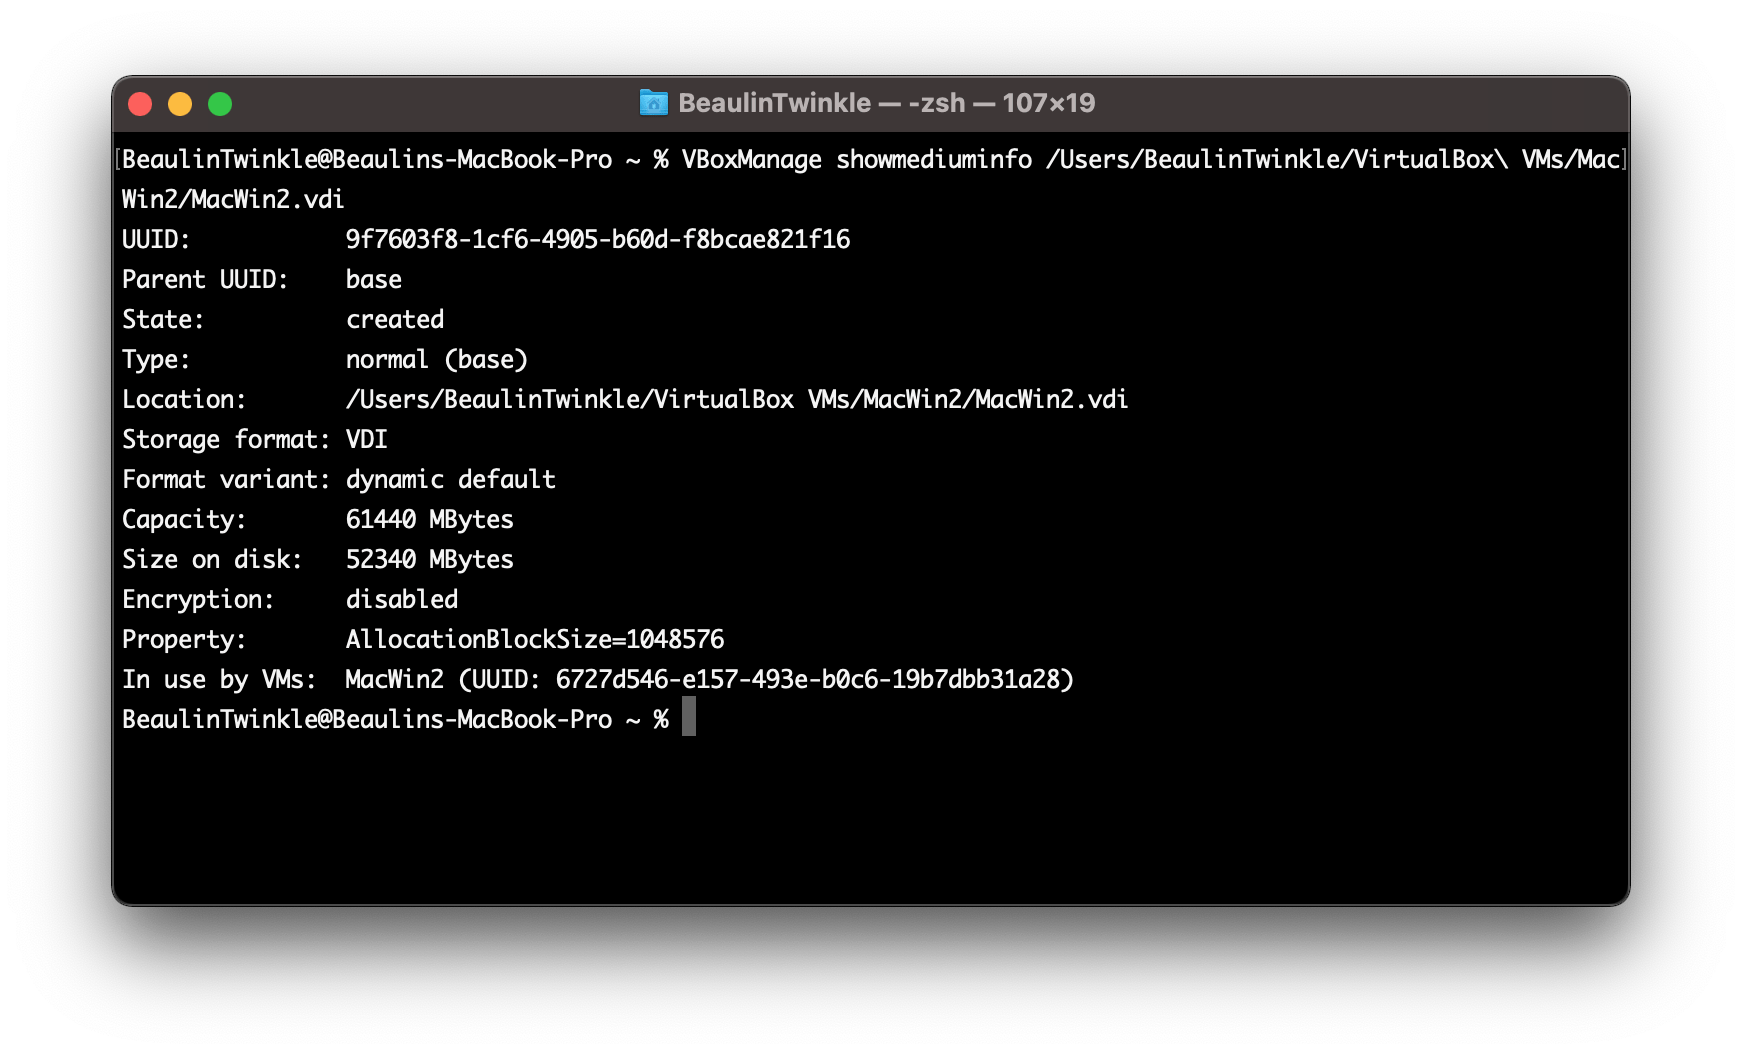
- Once done. check the new size of the virtual disk (vdi) using the VBoxManage showmediuminfo command. The syntax of the command is:
VBoxManage showmediuminfo [/path/to/vdi]
Here is an example:
VBoxManage showmediuminfo /Users/BeaulinTwinkle/VirtualBox\ VMs/MacWin2/MacWin2.vdi

- Now, Start the windows vm and log in.
- Right click the windows start button and go to the Disk Management program. You can see the space you have added as unallocated. You can merge this unallocated volume to a system drive to increase the space.
Hove this information will be helpful to you. If interested, read my other article on how to shrink the VirtualBox disk (vdi) on macOS.
Reference
- More about VBoxManage modify medium at VirtualBox Manual.
