
Recently, I started using Linux Mint as my daily driver. To work on .NET applications, I have set up a windows virtual machine. However, running the virtual machine for creating small .NET samples was not convenient. So, I have decided to try doing it directly on Linux Mint. In this article, we will discuss about installing .NET SDK on Linux Mint workstation and debugging C# code in Visual Studio Code.
Prerequisites
- Linux Mint 21.3 Virginia (Cinnamon Edge)
- .NET SDK 8.0
- Visual Studio Code 1.90.2
- C# Dev Kit VS Code extension
Installing .NET SDK in Linux Mint
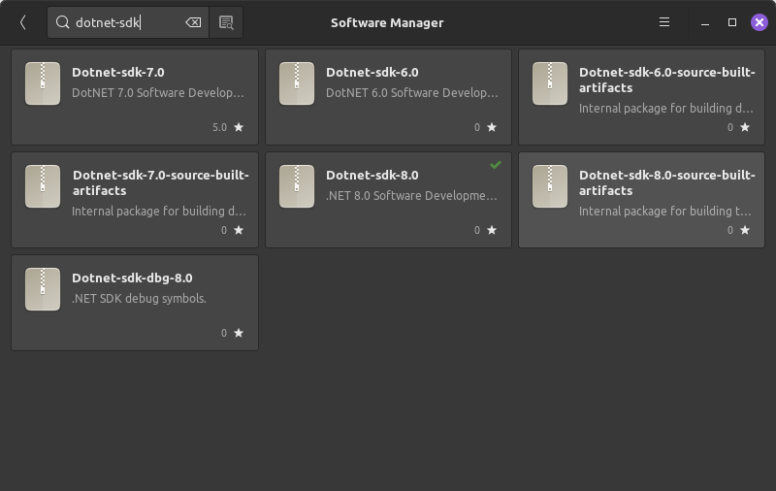
To install the .NET SDK on your Linux Mint workstation, just open the Software Manager and search for dotnet-sdk. From the listed versions of the .NET SDK, select the version you want and install it. I’ve installed dotnet-sdk-8.0 as it is the latest as of today.
- Software manager >> Search “dotnet-sdk” >> Install the latest SDK.
Now your Linux Mint workstation is ready for debugging and running .NET applications. Let us test it by debugging a C# code using Visual Studio Code IDE.
To start with, let us create a .NET solution using VS Code.
Install the C# Dev Kit VS Code extension
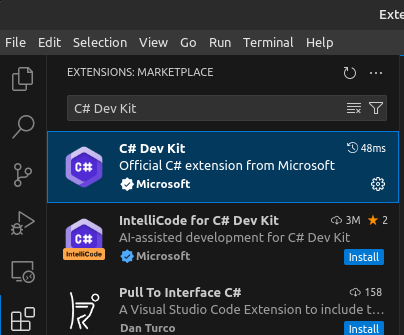
In VS Code make sure C# Dev Kit extension is installed. If not, search for the same in the market place and install. The C# Dev Kit enhances your coding experience by allowing you to manage your code using the VS Code Solution Explorer, elevating your C# development wherever you prefer to work.
Creating a .NET solution
There are several ways to create a .NET solution in VS Code. Here, we will look at how to create a .NET solution using the Command Palette.
- Launch VS Code and open command palette by pressing the Keys Ctrl+Shift+P.
- In the command palette type in .NET: New Project and select .NET: New Project…
- Now the command palette will list down the various types of DotNET projects you can create. For this illustration let us create a Console App.
- On selecting Console App, a file window will be launched to select the project location.
- Create or select a folder. I have created a folder called HelloWorld and selected it.
- The command palette will now allow you to enter a name for the project. I’ve named the project as HelloWorldApp and pressed Enter.
- Now the project and solution will be created and the URL of the project location will be displayed. You can either press the displayed URL to open the solution in VS Code Explorer or you can go to Menu >> File >> Open Folder.. to open the solution for the location.
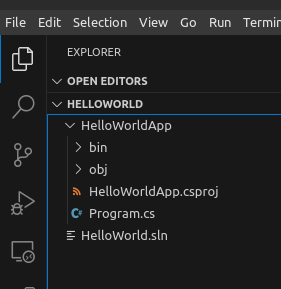
- Now in the Explorer panel, you can see the solution and its files.
Debugging C# code in VS Code on Linux Mint
- To debug the newly created solution, go to Menu >> Run >> Start Debugging >> Select C# >> Select C#:HelloWorldApp.
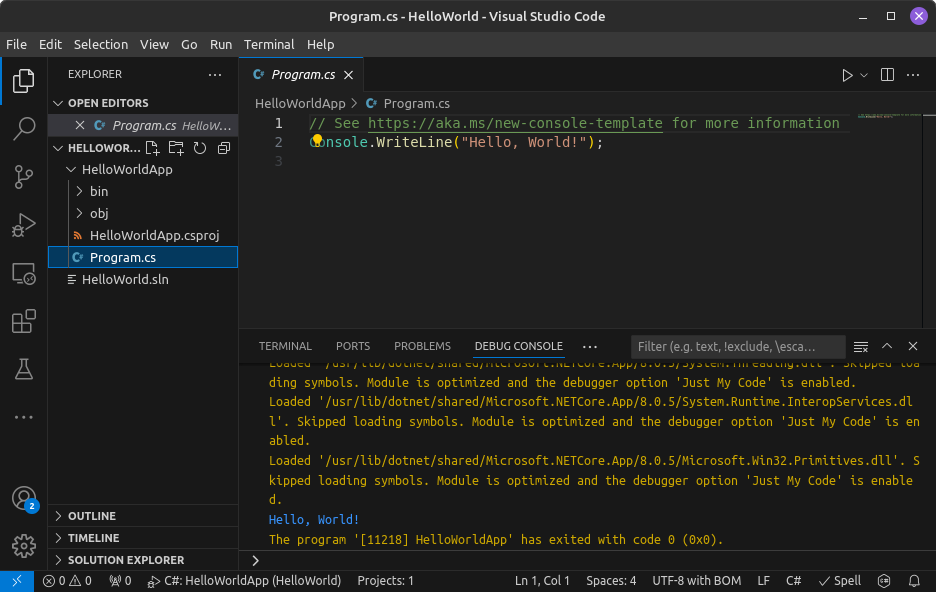
- The above step for selecting the language C# is only for the first time. From 2nd time onward, Start Debugging option will directly debug the application using the C# runtime.
Reference
- Read more about debugging .NET projects in VS Code at Microsoft Docs.