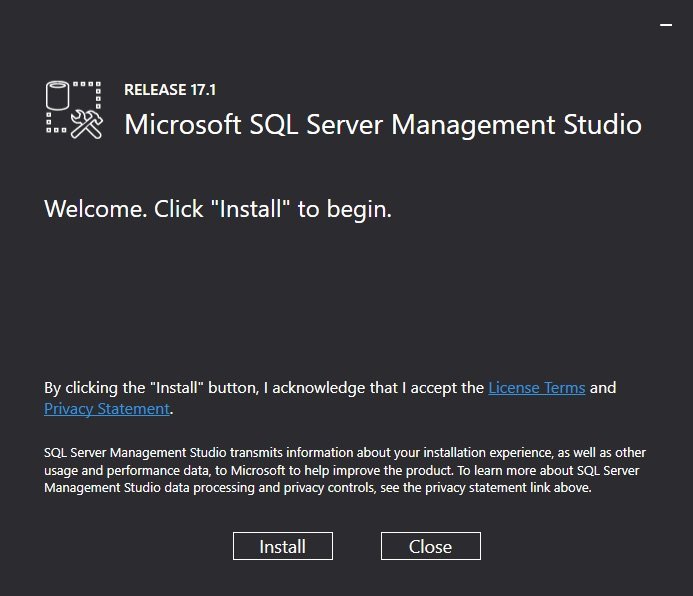
In SQL Server 2014 and older versions, the management studio or SSMS comes along with the SQL Engine installation setup. From SQL Server 2016, Installing SQL Server Management Studio is not part of the SQL engine setup file. You have to download the SSMS installation file separately from Microsoft website. The current version of SSMS, while I’m writing this article is Release 17.1.
This version of SQL Server Management Studio supports from SQL Servers 2008 to SQL Server 2017. SSMS 17.1 is supported by operating systems Windows 7 (SP1) to Windows 10 and Windows Server 2008 R2 (64-bit) to Windows Server 2016. Follow the below steps to install SSMS.
NOTE: SSMS 17.x won’t upgrade the earlier versions of SQL Server Management Studios. You can install SSMS 17.x along side other older versions or uninstall the older version and install this newer version fresh.
Steps For Installing SQL Server Management Studio
- Download the SSMS setup executable file SSMS-Setup-ENG.exe file from https://docs.microsoft.com/en-us/sql/ssms/download-sql-server-management-studio-ssms?view=sql-server-2017.
- Double click the exe to launch the setup screen and follow the instructions to install the SSMS. The installation process will take several minutes to complete.

- Once the installation is complete, you will be asked to restart the computer.
- Restart the computer and launch the SSMS from Start menu.
In case if you come across any error when launching SSMS, the article solution for management studio error “Cannot find one or more components”.
Related Articles
- Using SSMS.
- Tips and tricks for using filters in SSMS.
Reference
- https://docs.microsoft.com/en-us/sql/ssms/download-sql-server-management-studio-ssms?view=sql-server-2017
